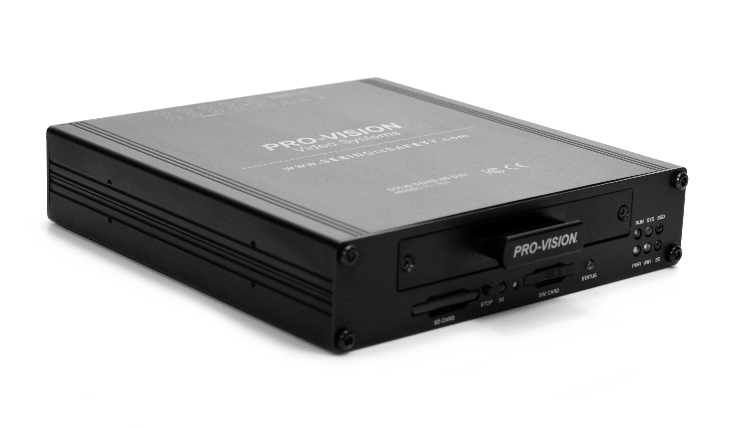
PD-1902 Ranger Hybrid DVR Firmware Version 1.9.4
Release Date 05/24/2024
How do I know which model I have?
- The model number on the top of unit is PD-1902
- The serial number on the bottom of the unit contains xxxxH9HDxxx
- The model number and serial number may be found in the 192.168.10.254 (Ethernet connection) or 192.168.1.254 (Wireless connection) web page of the unit

What's New
New
- Added feature to allow uploading events and requests only on specific network types (WiFi, LAN, 4G)
- Added ability to trigger 12V output with alarm recording from cameras
- Added additional options for 4G data APN settings
- Added driver support for new USB hub hardware
Changed
- Improved Wi-Fi Client connection stability and SSID/network switching
- Improved 4G connection management
- Updated instructions on live view page
- Changed GPS lost alarm from 15 to 60 minutes
- Changed upload logic of PV Transfer to prevent reuploading files for incomplete video requests
Fixed
- Fixed bug with occasional bootup screen not displaying correctly
Update Instructions
Method 1: through web interface
- Download the firmware from the link at the top of the page to your device (smart phone, tablet, or laptop)
- Connect your device to the DVR unit’s Wi-Fi or LAN port
- Open a web browser on your device and navigate to 192.168.10.254 (Ethernet connection) or 192.168.1.254 (Wireless connection)
- On the DVR’s web interface navigate to Settings > System Info
- Enter your username/password for access (Default Username: admin / Default Password: doesitall)
- In the Update Firmware box at the bottom of the page press Choose File and browse to the downloaded firmware file on your device
- Press Upload to upload the firmware to the DVR unit and update the firmware
- After the firmware update completes it will display the status and if successful it will reboot the DVR unit
Method 2: through a SD card
- Plug a SD card into the proper card slot on your PC
- Create a new folder named auto_upgrade in the root directory of the SD card
- Download the firmware from the link at the top of the page to the "auto_upgrade" folder
- Eject the SD card from PC
- Plug the SD card into the DVR that needs to be updated
- The firmware update will start automatically once the DVR powers on, if DVR is already on, firmware update will start automatically once the card is plugged in
- After the firmware update completes it will display the status and if successful it will reboot the DVR unit
NOTE
If you were connected to the DVR through Wi-Fi, you may need to reconnect after the DVR unit reboots.
After you have update the firmware it may be necessary to clear your browsers cache to allow it to load the updated interface, on Windows computers press CTRL + F5, on Mac computers hold Shift while clicking refresh on the page, and on smart phones you must go to Settings > History > Clear Browsing Data and select the 192.168.10.254 (Ethernet connection) or 192.168.1.254 (Wireless connection) web page.
Saved Successfully
Error Saving (see console for details)